More posts you may like



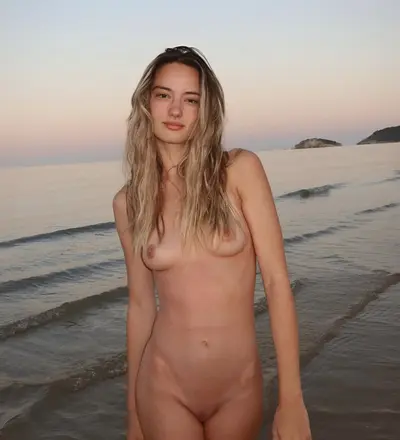












Adult-only hub: sexy pictures, nude photo sets & explicit NSFW galleries—each post has its own fast URL.